How to plan a garden hedge made of ivy

Garden fences are a necessity to protect the owner 's private space from unwanted access . But not only protection is important , the appearance of the garden fence is also important . decisive . Nowadays there are many different options to give a garden a very personal touch . A particularly nice option is ivy panels as garden fencing . In this blog post you will learn more about the advantages of ivy panels as garden fencing and how you can best use them .
Ready-made hedge panels as fence and privacy screen
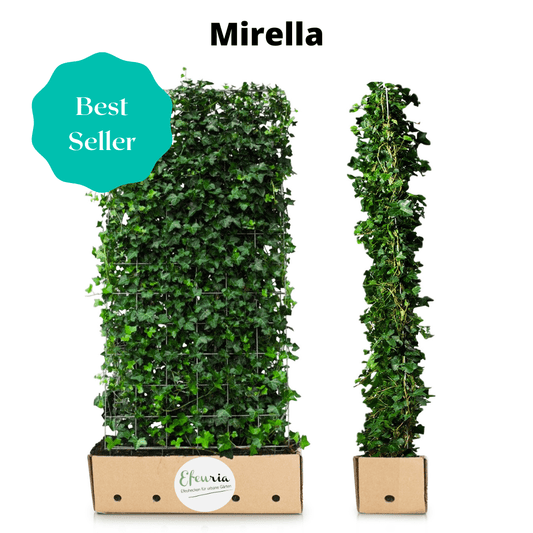
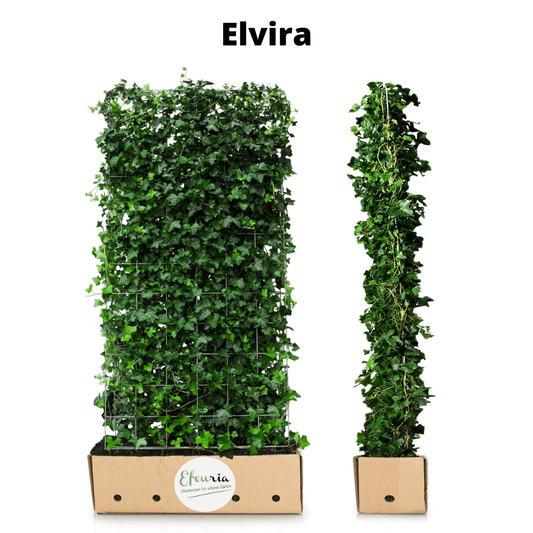
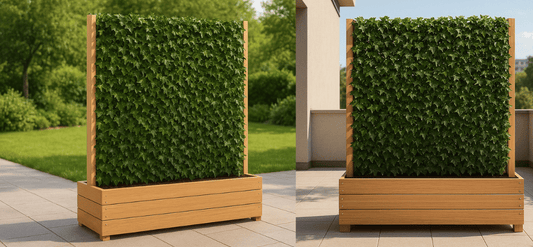
Garden hedges are an excellent way to protect and beautify a garden and at the same time create new privacy . Efe uria offers you a unique solution for your garden : ready - made hedges made from Efe u . These hedge panels consist of high - quality , galvanized trellises and a biodegradable coconut pot . Once completed , the panels provide a privacy screen that protects your garden from prying eyes . The panels can be planted in the garden within a few hours , so you can soon benefit from the many advantages of a finished ivy hedge .
How many hedge panels do you need
Hedges are a great way to decorate and structure your garden . If you decide to install a hedge When deciding , it is important to choose the correct distance between the hedge elements and the posts to create a solid structure . As a rule , the hedge elements should be 120 cm wide and there should be about 3 cm of space between the posts and the hedge elements . Depending on the type of posts you want to use , you will need about 5 cm for steel posts and 6 x 6 cm for wooden posts . Overall , plan on a distance of 130 to 132 cm from the center of the post to the center of the next post . By choosing the right distance between the elements and the posts , you can ensure that your hedge looks good and fulfills its function .
Tip : Use our Efeuria hedge calculator : Calculate in 3 steps how many hedge elements and accessories you need. Experience the ease of garden planning!
How to prepare the soil
Efeu is a great plant that tolerates a wide range of soils . Although it will cope with almost any soil , there are a few things you need to keep in mind to ensure the plant thrives . An ideal soil for Efeu is in humus soil that is at least 40 cm deep . It is important that the soil is well permeable to water , so it should be cleared of rubble , stones and water- and permeable layers of clay . If the soil is not rich in humus , you can also add flower soil . In any case , you should be careful not to damage any pipes or other foundations when digging .
Installation instructions coming soon
-
To ensure a straight planting line, it is best to use a mason's or gardener's line and mark a line with a paint spray or with sand on the ground.
-
Mark a mark every 130 cm to 132 cm for the stabilizing posts. This mark is the distance from the center of the post to the center of the next post. If the soil is very loose (sand, for example) or the hedge is exposed to strong winds, use cement as a foundation around the posts. The dimensions of 30x30x60 cm are sufficient. Plan for the foundation to be deep enough in the ground so that you have 25 to 30 cm of soil above the foundation. This is needed for the roots of the hedge.
-
Plan the post ends to be the same height as the hedge. If the hedge is to be 220 cm high, then the posts should be 220 cm from the ground. You can set the posts upright using a plumb line or spirit level.
-
Now dig a trench 25 cm deep and 40 cm wide. Moisten the trench with water before you start planting. Fill the trench with potting soil or a pre-fertilized plant substrate and press it down firmly. The trench should be about 20 cm deep at the end.
-
Take an ivy panel from the supplied pallet and place it in the planting trench. The organic cocopot should be slightly below the surface so that no coconut fibers are visible later.
-
Fasten the trellis to the posts. We can provide fastening material on request. There are several options for fastening. However, our standard model is very practical and can be screwed onto the posts and hung in the trellis. For a hedge element 220 cm high, plan six fastening points. For a hedge element 180 cm high, plan four fastening points. Please remember that the posts and mounting material are not included in the order.
-
Now fill the trench with the excavated soil and press the soil down from above. The root ball in the Cocopot should sit so firmly in the trench that the root ball is in contact with the soil. Water the newly planted hedges with around 30 litres of water per hedge element.
-
And last but not least: enjoy your new garden hedge with your loved ones.
